
Whip up these mini dark chocolate peppermint butter wafers for a fun bite-sized holiday snack for the whole crew!

Can we talk about peppermint for a sec (…amint)?! Is it something you love or hate? All growing up, I loved anything spear-minty but I’ve never quite understood the fascination with peppermint. I mean, candy canes sure do look cute as photo props but they’ve never been something that I’d choose in a basket of candy. Much like I’d never look at a basket of Halloween candy and choose to eat all the black & orange wrapped taffy (you know..these?!) before the coveted Reeses. It’s not like I hated them, they just didn’t have the same gravitational pull as the others, ya know?
The moral of the story is that peppermint candy & I never shared a BFF necklace. Or the password to my Password Journal. Or in 2016 terms…my Netflix password.
Sidenote: Amazon is telling me that they still sell Password Journals and that they’re only $10 and I may or may not have signed up for Amazon Prime on Black Friday and it’s truly the last thing I need in life right now but OMG I want it.
 So at this point you’re probably thinking this story is about to turn around and I’m going to now profess my love for peppermint. And you’d be right. A quick trip to Whole Foods to buy house-warming gelato for a friend turned into me being suckered into buying an overpriced container of peppermint butter wafers (these) staring me straight into the face from the checkout line and my psychic sense told me I needed them. And before I could even ask myself how the heck they ended up in my car, one little bite erased any doubt I had about buying a $6 tub of wafers. On a point scale: Whole Foods: 1, Me: 1. We were both winners, really.

There’s really not anything else to that story other than the fact that the gelato we bought was a bust, my friend wasn’t home (we were basically just showing up uninvited) so we drove home and ate the peppermint butter wafers in the driveway for an hour while waiting for the cops to pick up a unidentifiable drone that crashed in my yard (that’s a tale for another day).

Not one of my proudest moments, but it was in that moment that I knew I needed to make something similar to these crunchy little nuggets of happiness at home. And although the instructions look long, let me assure you that the length is a mere result of my rambling. I wanted to be thorough, as I found a few tricks while making these that made things easier.

The dough is much like a sugar cookie dough in terms of texture, but with only 1/3 cup sugar you will find it to be much less sweet. So although the dough isn’t bad, I wouldn’t say it’s the munchable kind that you’ll find the kids snagging up before it reaches the oven. But don’t you worry, the melted chocolate coating will sweeten things up reallll fast.
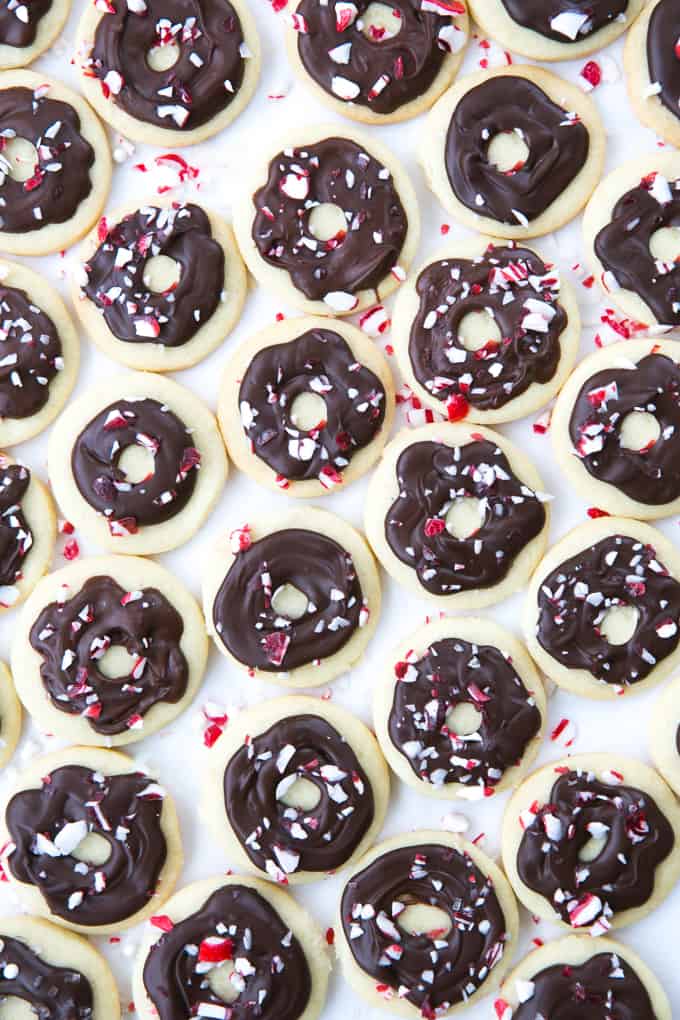
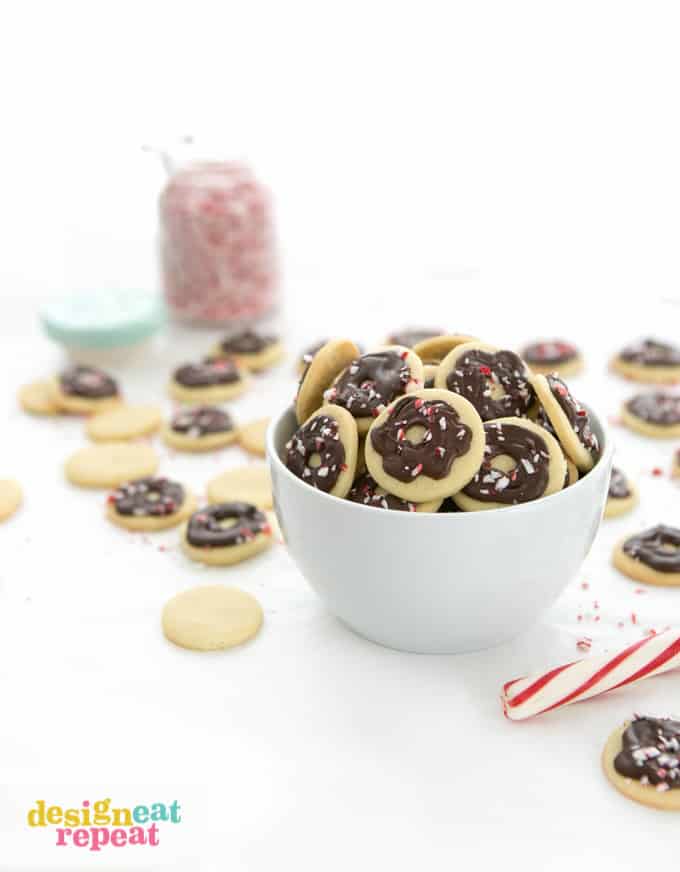
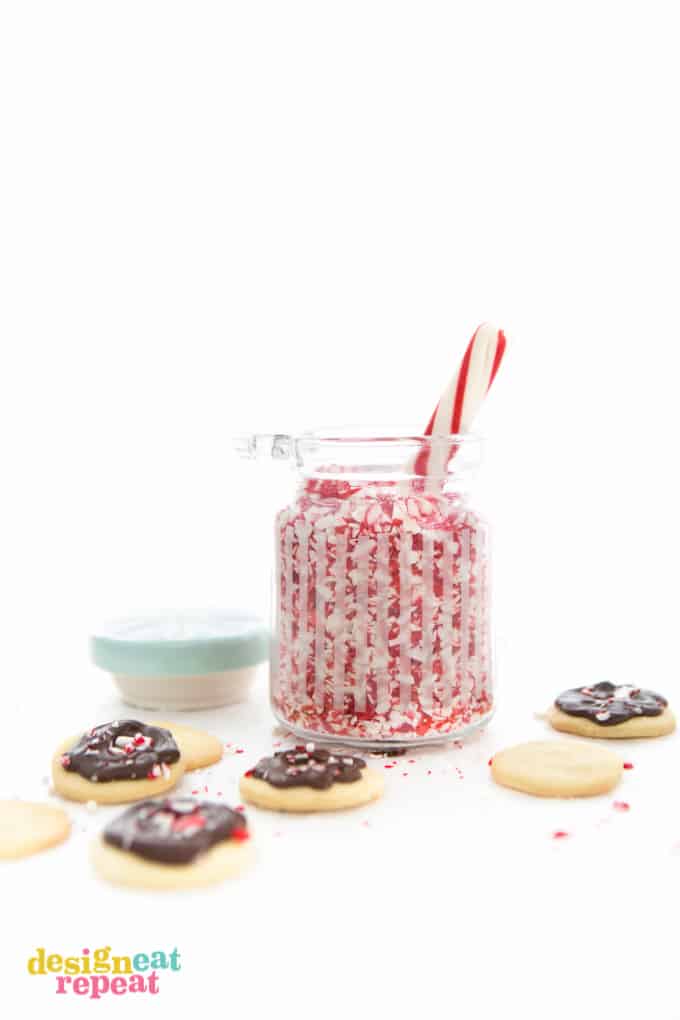
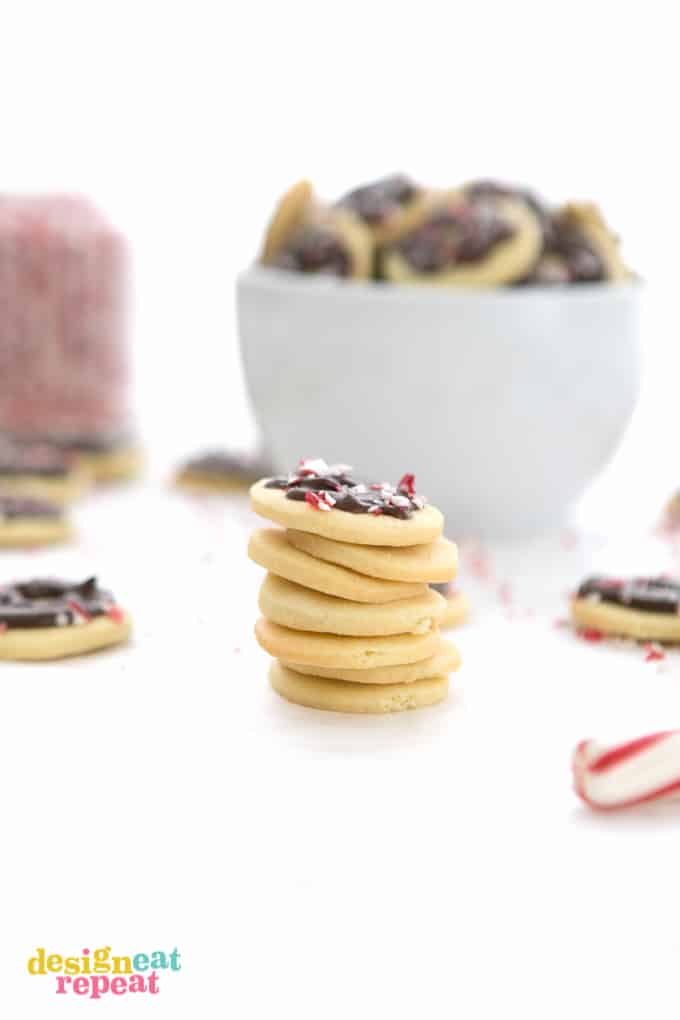
I’ll spare you all the process details (as I’ve listed them below), but the fun part is when it’s time to decorate! If you’re not into the donut trend, you can just pipe a solid circle of chocolate on top but I wanted to spice things up (peppermint pun intended) so I used a piping bag to first pipe on a circle and then filled in the outside with chocolate to resemble a iced donut. Once piped, I sprinkled on some crushed peppermint and let them harden! If you want to speed up the hardening process, you can also place the tray in the fridge. (Sidenote: I used Wilton’s peppermint sprinkles thinking they might have a softer white chocolately texture but they are literally just crushed candy canes, so spare yourself some money and just grab a $1 box of candy canes and crush them yourself!)
Mini Chocolate Peppermint Butter Wafers

Ingredients
- 11/4 cups all-purpose flour
- 1/8 teaspoon baking soda
- Dash of salt
- 1/2 cup unsalted butter
- 1/3 cup sugar
- 1/2 egg
- 3/4 teaspoon vanilla
- 1 1/2 cup dark chocolate chips
- Crushed Peppermint Candies I used these from Wilton
Before you begin! If you make this, will you do me a huge favor and leave a review and rating letting me know how you liked this recipe? This helps my small business thrive so I can continue providing free recipes and high-quality content for you.
Instructions
-
In a medium bowl, whisk together flour, baking soda, and salt. Set aside.
-
In a separate bowl using a electric mixer, beat butter and sugar on medium speed until smooth (about 20 seconds). Add egg and beat for 1-2 minutes until fluffy. Beat in vanilla.
-
On low speed, add the flour mixture and mix until the flour disappears and is fully worked in.
-
Roll mixture into a flattened ball and place in plastic bag (squeeze all the air out). Refrigerate for 1-2 hours (I left mine in the fridge overnight).
-
Remove from refrigerator and let the wrapped dough ball sit on the counter to soften for about 1 hour before rolling out.
-
Preheat oven to 350 degrees.
-
On a floured surface, roll the dough out 1/8 inch thick. (For the crispiest wafer, the goal is to roll them out as thin as they'll go without totally breaking. Mine varied in thicknesses, which is totally fine...you'll just have some softer/thicker wafers). Use a 1-1.5" circle cookie cutter to cut (you could also use the lid of a spice jar if you don't have a cutter this size.)
-
** TIP: For easy transfer of wafer to baking sheet, roll the dough out on a piece of parchment paper in small batches. This way, you can roll, cut, peel away the excess dough, flip the piece of parchment over on the parchment-lined baking sheet, and then peel away. This prevents you from having to pick up the individual thin wafers and risk breaking them.
-
Place cut wafers on a parchment covered baking sheet and bake for 7-10 minutes until edges are slightly brown. Watch closely after 7 minutes, as they will start to brown very quickly. You don't want them too brown, as they will continue to brown on the baking sheet even after removing them from the oven. The browner they get = the crunchier they will be.
-
Let cool completely before piping on chocolate.
-
To melt chocolate, place chocolate chips in a glass microwave-safe bowl. On 50% power, microwave for 90 seconds. Carefully remove bowl and stir the chocolate. If not fully melted, place in the microwave for additional 30 second intervals until completely melted.
-
Once melted, carefully spoon the chocolate into a piping bag or bottle and pipe on top of each wafer. For the donut look, first pipe a circle in the middle of the wafer and then fill in the area around it to look like a frosted donut.
-
Top with peppermint candies.
Last Step! Please leave a review and rating letting me know how you liked this recipe! This helps my small business thrive so I can continue providing free recipes and high-quality content for you.
Nutrition

So back to my original question…PEPPERMINT. Love or Hate? If you’re a hater, these peppermint butter wafers are also beyond cute sprinkled with other crushed candies or holiday themed sprinkles (like pretty much any of the mixes from this sprinkle heaven). Leave a comment below and let’s hear your view on this controversial subject! :)


Alissa says
So I have a confession: I didn’t know that peppermint was a real thing. I thought it was artificial flavoring. I thought this until like two weeks ago. Seriously. I do not know HOW I did not know it was a real thing, but man, here I am!
The Adored Life